Tie Dye Tuesday
Camp Mommy. Camp Covid. Camp Quarantine. Whatever you want to call it, I’ve found myself scrambling since Memorial Day to fill my kids’ days with more than a combination of Disney+ and Netflix (and no judgment because trust me there’s been plenty of that too!). Prior to the end of May we still had online schoolwork to complete and afternoon dance classes over zoom, but when those ended we had to get creative to fill our days. If you follow me on Instagram then you probably know that my girls were supposed to spend three weeks of June at camp in North Carolina. In fact, I should be driving there tomorrow in preparation of closing day pick-up. But Covid has canceled all camp sessions this summer for the camp, and we’re still waiting for day camps to be able to open locally.
Twenty years ago (yikes!!!), I was a counselor at the same camp where my girls were supposed to attend this summer. I taught dance, riflery, cross stitch, and crafts during those two summers. Perhaps that is why I have found it easiest to plan creative arts and crafts activities for my kids to fill these summer days.
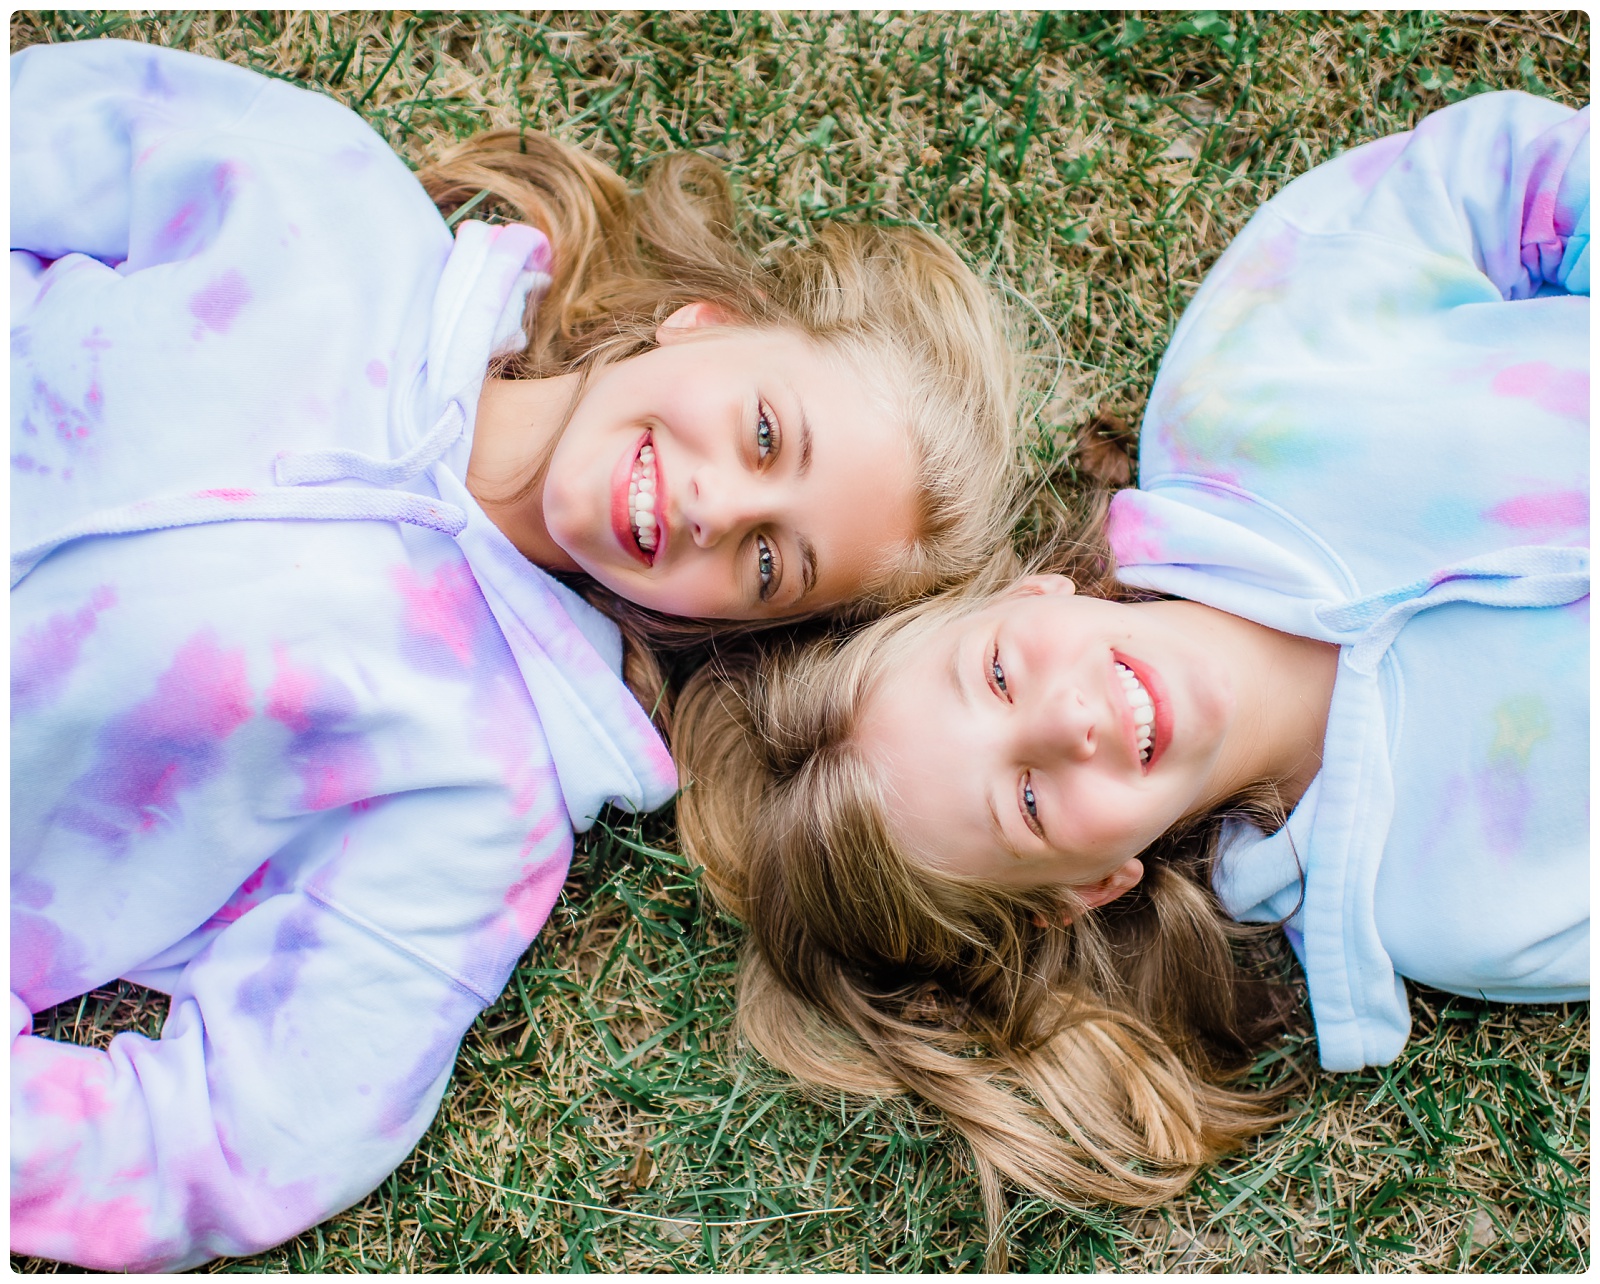
One of our first activities was as an afternoon of creating tie dye shirts. Both girls got to make Bella Canvas cropped tie dye hoodies plus a t-shirt and Jameson made three t-shirts, and their new shirts quickly became staples of their summer wardrobe.
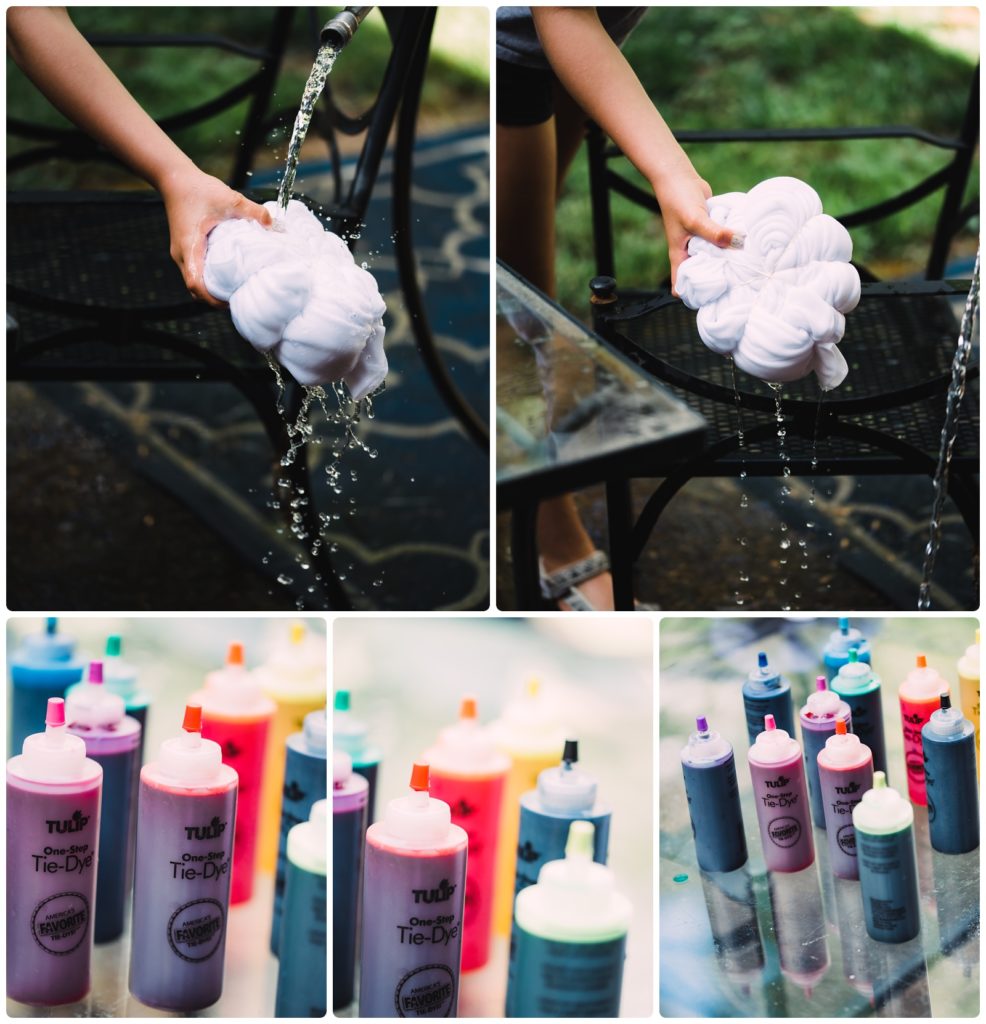
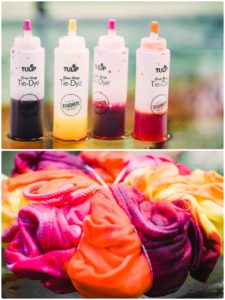
Bought a Tulip Tie Dye kit from Joanns and bought the shirts both at Joanns and on Amazon. (I have a slight obsession with Bella Canvas shirts!) The tie dye kit came with a bunch of color choices, rubber bands, plastic gloves, and great instructions — everything we needed besides the shirts to get started.
Before starting it’s important to wash the shirts to make sure there’s no sizing left on the fabric that may affect the dye absorption of the fabric. We tossed ours in the washer and then started the “tying” part without drying the shirts since they needed to be wet anyway.
The instructions included in the kit gave a number of tie options, but my kids overwhelmingly chose what I call the cinnamon bun tie wear you pinch the center of shirt and twist and twist and twist until the the shirt resembles a swirled cinnamon bun before holding placing the rubber bands on the shirt to hold it in place.
After the rubber bands are one, its time to mix the dye and get the shirts really really pretty wet. Between the water and the dye we opted to do this outside on a warm day since we knew we’d probably get wet, and we wanted to do it in a part of the house that would be easy to clean. We have a glass-top wrought iron table that we can easily hose down, but if you have furniture that may absorb the dye you may want to put down plastic sheeting or just do the whole project out in the grass.
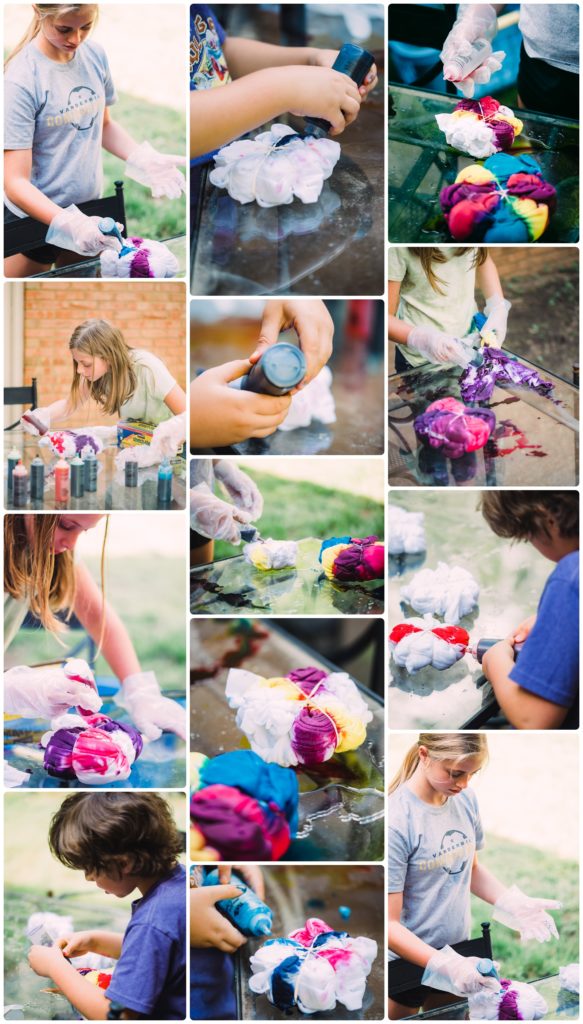
This project ended up being a perfect way to kick-off the summer because even though my kids are spread out in age, all three were able to do create their tie dye designs with little to no help from me. We did talk about basic strategies and planned out the colors they would use for each shirt before getting started, but despite the fact that I was a bit nervous to turn them all loose with multiple bottles of dye, they all did a great job.
The instructions that came with the kit included that step that had us wrap the shirts in plastic wrap to let the dye really sink into the fabric over a period of several hours before rinsing and then tossing the shirts in the washing machine.
We followed this instruction for several of the shirts, but my girls wanted a more faded look, especially for those hoodies they’re wearing in the photograph at the top of this post. For those shirts we had watched a Chalene Johnson IGTV where she suggested leaving the dye on for just about 10 minutes before rinsing. The girls loved how these hoodies turned out, so I am so glad that we caught that video with the faded look instructions.
When it was time to rinse the shirts out (whether after 10 minutes or 10 hours depending on the look we were going for) we rinsed them using the hose out in the backyard. The rinsing takes quite a while, but you want to make sure the water is running clear before carrying the shirts back inside to toss in the washing machine for full wash and dry.
Coming up with activities that cover three kids at three different ages with wildly different interests isn’t always easy, but this tie dye project did the trick.
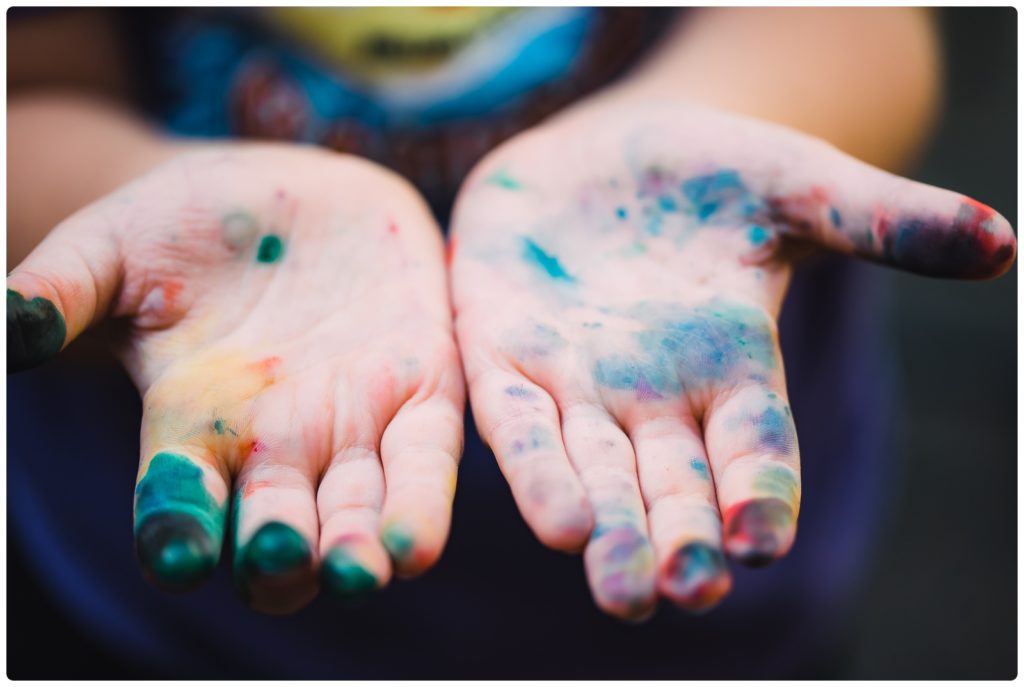
The only issue we really ran into with the kit was that the plastic gloves that came with the kit were quite large on my 7 year old. He found it really hard to work with the gloves on, so we made a game time decision to let him work without the gloves. He ended up rocking some rainbow hands for several days afterwards. That didn’t bother me or him, but if you or your kids are bothered by that you might want to look into better fitting gloves before doing a tie dye project.
I couldn’t let my kids have all fun, so I also made my own Bella Canvas tie dye hoodie (mine is just not cropped!) following the same instructions my girls used for that faded tie dye look. I absolutely love it! And just like my kids it has been a staple of my summer wardrobe since my attire for editing days is most often leggings and hoodie even in summer because I am always cold in my office.
Because I know some of y’all out there are finding yourselves in much the same boat I am trying to keep your kids active and engaged all while keeping them at home, I am planning to share more projects we’ve been doing together.
I had planned to post this yesterday for my first “Motherhood Monday” post but ran into some technical difficulties, so here I am posting it on a Tuesday. At least “Tie Dye Tuesday” works! Just make sure you are subscribed to my email list and following me on Instagram or Facebook so you won’t miss a post.


PLEASE COMMENT BELOW